
How to Clean Your Suppressor
A Complete Guide for Maximum Performance
Suppressors have become one of the most popular firearm accessories among shooters, hunters, and tactical enthusiasts. They help reduce noise, minimize recoil, and improve overall shooting comfort. This is largely because of the 2026 updates to the NFA rules, and the $200 fee for the tax stamp no longer being required for suppressor purchase. However, like any firearm component, suppressors require proper maintenance to ensure optimal performance and longevity.
If you’ve invested in a suppressor, understanding how to clean it correctly can help prevent carbon buildup, maintain accuracy, and extend the life of your equipment.
In this guide, our team at Next Level Armament is going to walk you through the best practices for suppressor maintenance and cleaning.
Why Cleaning Your Suppressor Matters
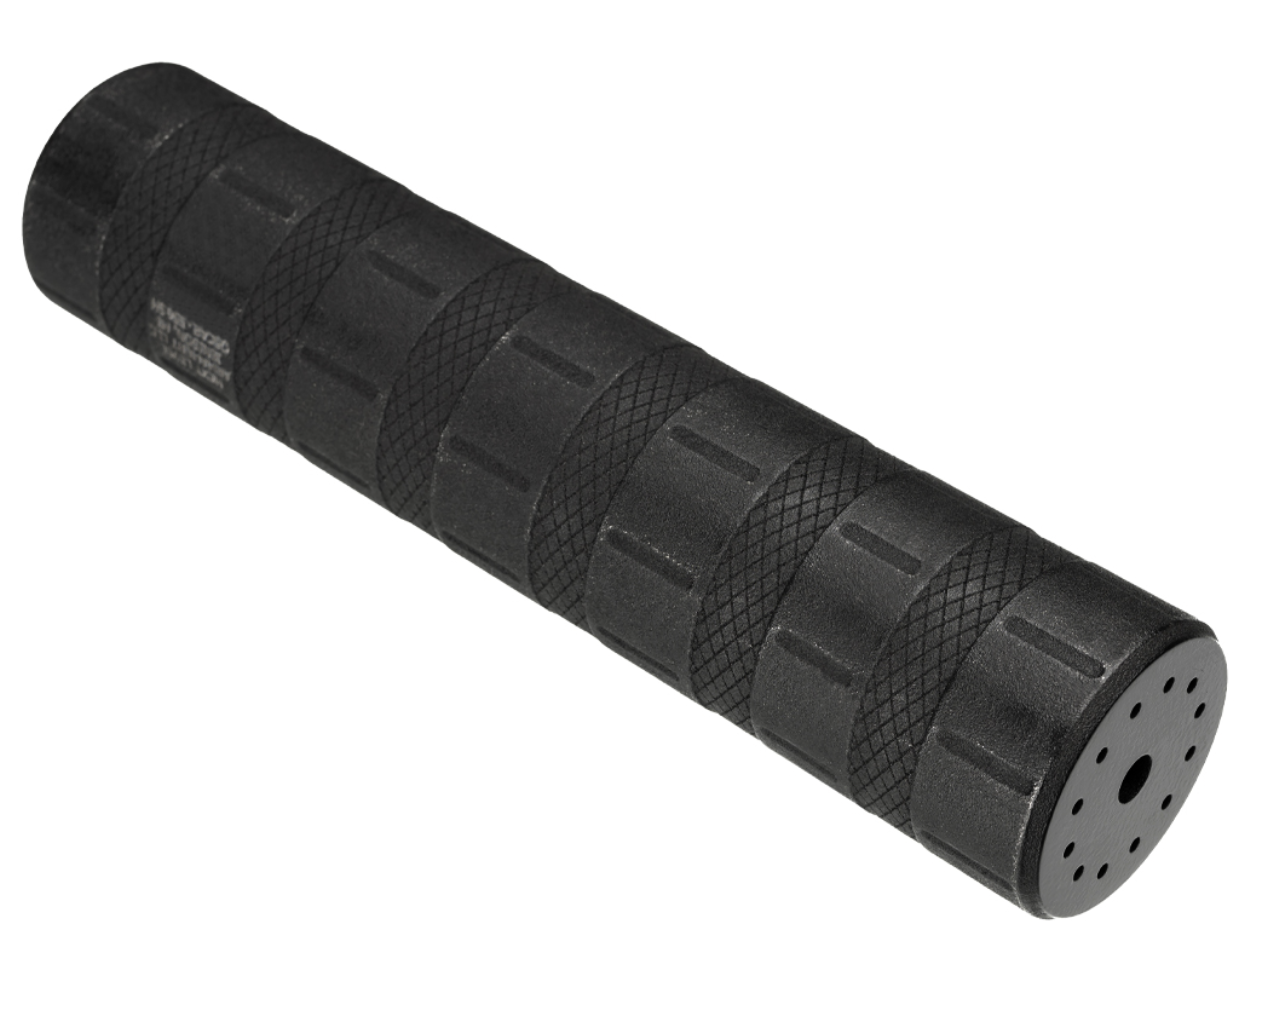
Every time you fire a round, carbon, lead, copper, and powder residue accumulate inside the suppressor. Over time, this buildup can:
- Increase suppressor weight
- Reduce sound suppression effectiveness
- Impact accuracy
- Cause excessive wear on internal components
- Make future cleaning more difficult
Regular maintenance helps keep your suppressor functioning at peak performance while protecting your investment.
How Often Should You Clean Your Suppressor?
Cleaning intervals depend on several factors:
Rimfire Suppressors
Rimfire ammunition, especially .22 LR, tends to be dirty and leaves significant lead and carbon deposits.
Recommended Cleaning Interval:
- Every 500–1,000 rounds
Centerfire Rifle Suppressors
Most centerfire rifle suppressors are designed to handle high pressures and often require less frequent cleaning.
Recommended Cleaning Interval:
- Every 2,000–5,000 rounds
- Inspect regularly for excessive buildup
Pistol Suppressors
Pistol suppressors can accumulate carbon quickly due to lower operating pressures.
Recommended Cleaning Interval:
- Every 1,000–2,000 rounds
Always refer to the manufacturer’s recommendations for your specific suppressor model.
Gather the Proper Cleaning Supplies
Before beginning the cleaning process, gather the following items:
- Nitrile gloves
- Nylon brushes
- Soft-bristle toothbrush
- Cleaning patches
- Microfiber cloths
- Carbon remover or suppressor-safe solvent
- Plastic or stainless-steel cleaning container
- Compressed air (optional)
- Ultrasonic cleaner (if approved by manufacturer)
Avoid using steel brushes or abrasive tools that may damage internal components or protective coatings.
Step 1: Ensure the Suppressor Is Safe
Safety should always come first.
Before removing the suppressor:
- Unload the firearm completely.
- Remove the magazine.
- Verify the chamber is empty.
- Allow the suppressor to cool completely before handling.
Suppressors can remain extremely hot long after firing.
Step 2: Disassemble the Suppressor (If Applicable)
Many suppressors are user-serviceable and can be disassembled for cleaning. Others are sealed units and should not be taken apart.
If your suppressor is user-serviceable:
- Follow the manufacturer’s instructions carefully.
- Lay components out in order.
- Inspect baffles, spacers, and end caps for wear or damage.
Never force components apart if they are stuck. Excessive force can damage threads and internal parts.
Step 3: Remove Carbon and Fouling
Carbon buildup is the primary contaminant found in suppressors.
Manual Cleaning Method
Use a nylon brush and suppressor-safe solvent to scrub:
- Baffles
- Blast chamber
- End caps
- Internal tube surfaces
Allow heavily fouled parts to soak for 15–30 minutes before brushing.
Focus on removing loose deposits rather than attempting to make every component look brand new.
Ultrasonic Cleaning
Some suppressors can be cleaned using an ultrasonic cleaner.
Benefits include:
- Deep cleaning of hard-to-reach areas
- Reduced scrubbing effort
- Faster maintenance
However, always verify that ultrasonic cleaning is approved by the manufacturer. Certain finishes and materials may be damaged by prolonged exposure.
Step 4: Clean the Threads
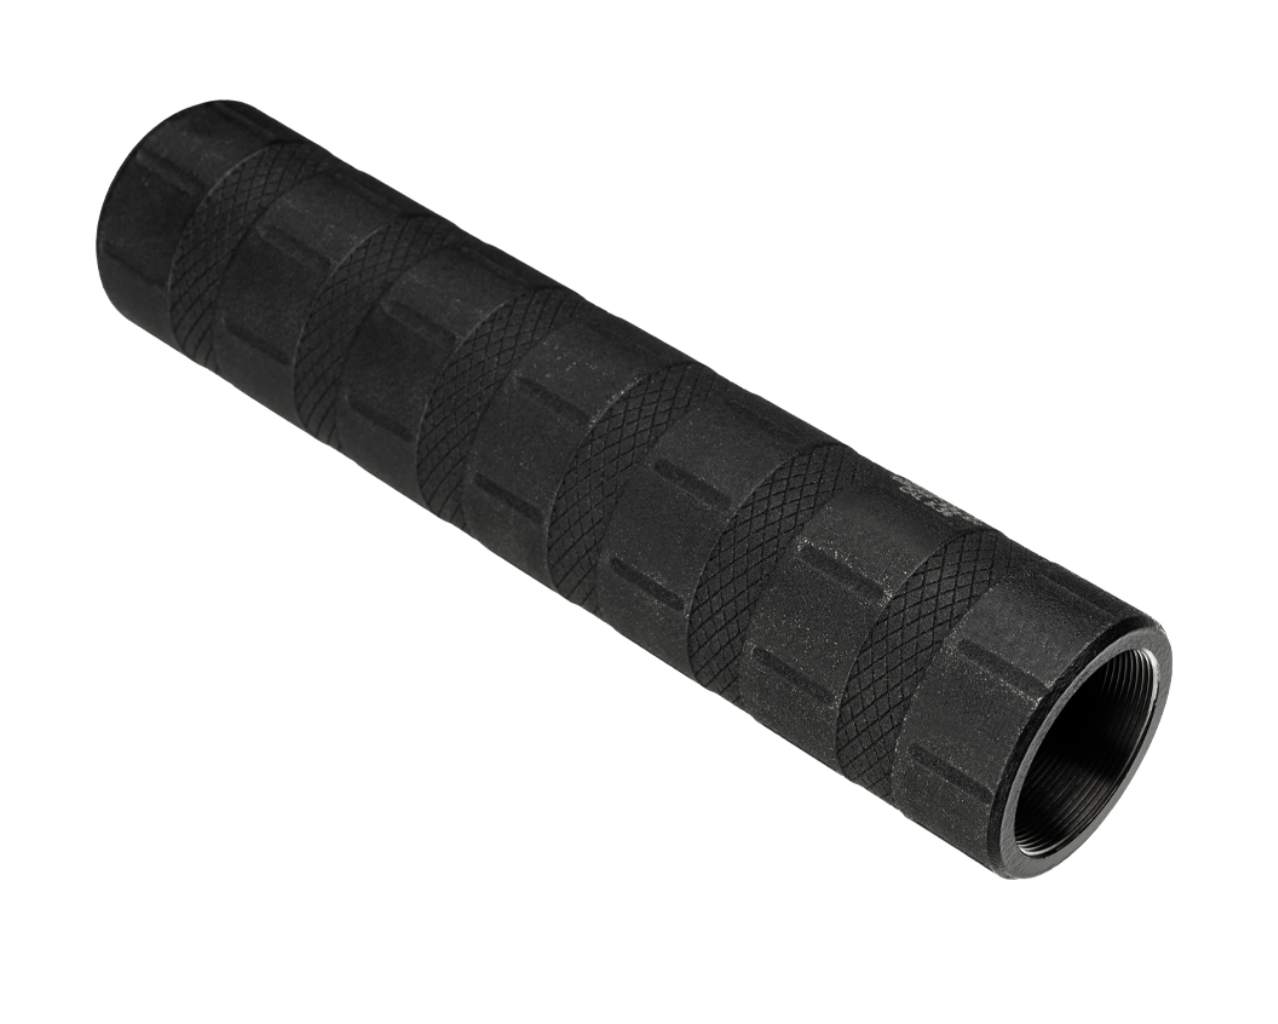
Suppressor threads often accumulate carbon and debris that can cause mounting issues.
Use:
- A nylon brush
- Cleaning solvent
- Thread cleaning tools if available
After cleaning, inspect threads for:
- Damage
- Galling
- Excessive wear
Clean threads ensure consistent mounting and help maintain accuracy.
Step 5: Dry All Components Thoroughly
After cleaning:
- Wipe components with a microfiber cloth
- Use compressed air to remove trapped moisture
- Allow all parts to dry completely
Residual solvent can attract additional fouling and may affect suppressor performance.
Step 6: Reassemble and Inspect
Once dry:
- Reassemble the suppressor according to manufacturer specifications
- Verify all components are seated properly
- Check for loose parts
- Ensure mounting systems function correctly
A quick inspection can help identify potential issues before your next range session.
Common Suppressor Cleaning Mistakes to Avoid
Many shooters unintentionally damage their suppressors by using improper cleaning techniques.
Avoid these common mistakes:
Using Harsh Chemicals
Strong acids, caustic cleaners, and aggressive solvents can damage finishes and internal materials.
Over-Cleaning
A small amount of carbon is normal and often does not affect performance. Excessive cleaning can create unnecessary wear.
Ignoring Manufacturer Guidelines
Different suppressors use different materials and construction methods. Always follow manufacturer recommendations.
Using Steel Tools
Steel brushes and picks can scratch baffles and protective coatings.
Preventative Maintenance Tips
To reduce future cleaning time:
- Use quality ammunition
- Clean mounting systems regularly
- Inspect suppressors after range sessions
- Store suppressors in a dry environment
- Track round counts for maintenance scheduling
Consistent maintenance is far easier than dealing with years of neglected carbon buildup.
Upgrade Your Rifle with Premium Components from Next Level Armament
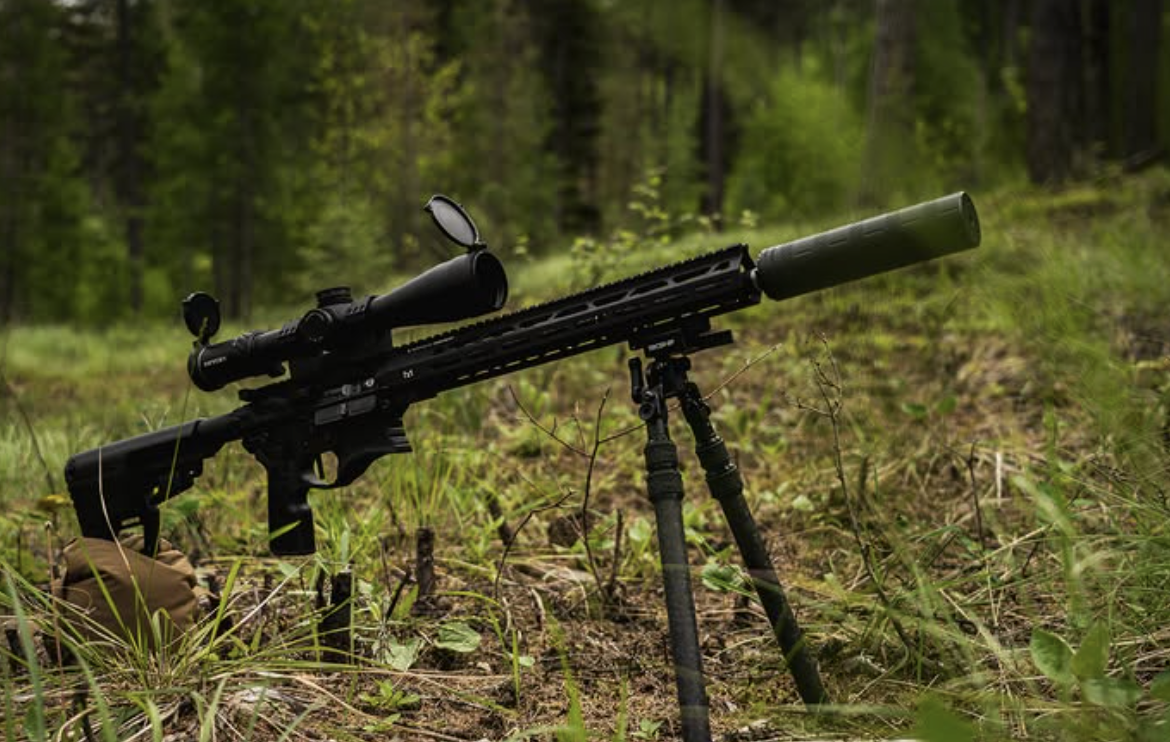
A suppressor is only one part of a reliable firearm setup. High-quality components throughout your rifle ensure dependable performance, improved accuracy, and long-term durability.
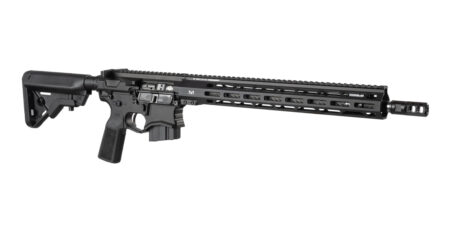
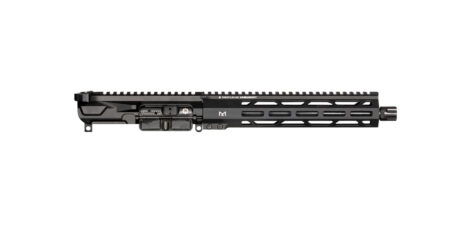
At Next Level Armament, we offer premium AR-15 parts and accessories engineered for shooters who demand reliability in every environment. Whether you’re building a new rifle or upgrading an existing platform, our precision-machined components are designed to perform when it matters most.
Final Thoughts
Proper suppressor maintenance doesn’t have to be complicated. By following a regular cleaning schedule and using the correct tools, you can maximize suppressor performance, extend service life, and maintain consistent accuracy.
Whether you’re running a rimfire suppressor, pistol suppressor, or centerfire rifle can, routine maintenance ensures your equipment stays ready for every range day, hunting trip, or training session.



Leave a Reply
You must be logged in to post a comment.