
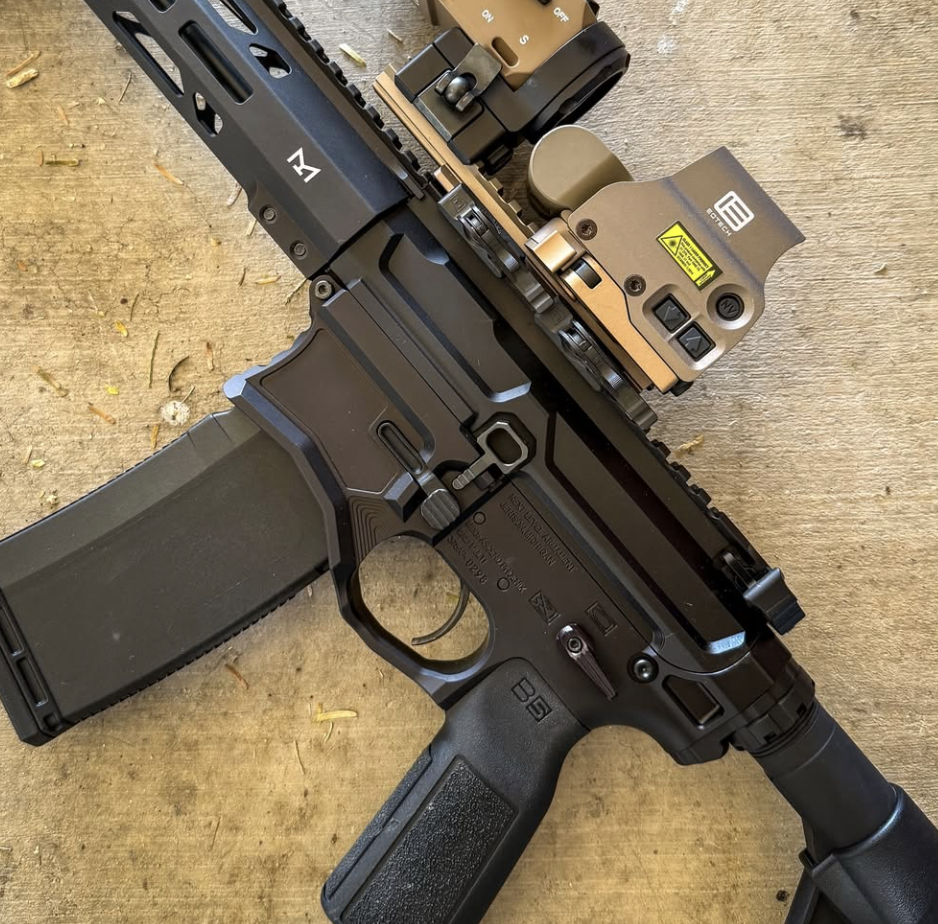
How to Clean Your AR-15 (Beginner’s Guide)
A Complete Step-by-Step Maintenance Guide
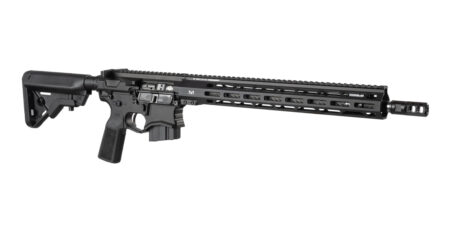
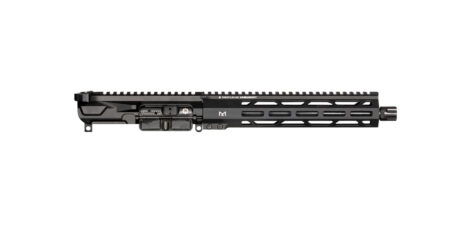
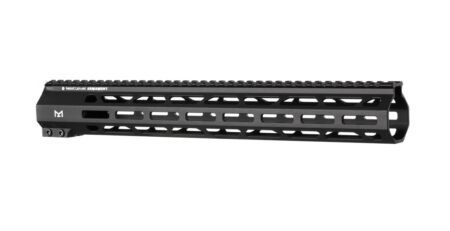
The infamous AR platform is one of the most popular and versatile rifles in America, trusted by recreational shooters, competitors, hunters, and professionals alike. You have so many variants such as different calibers, short barreled rifles, and pistols. You can throw on so many different components like handguards, different foregrips, muzzle attachments like suppressors, and more. But like any firearm, regular maintenance is essential to ensure reliability, accuracy, and longevity. Fortunately, learning how to clean your AR-15 is straightforward and can significantly improve your rifle’s performance.
Whether you’ve just finished a range day or want to establish a routine maintenance schedule, this guide from our team at Next Level Armament covers everything you need to know about cleaning your AR-15 properly.
Why Cleaning Your AR-15 Matters
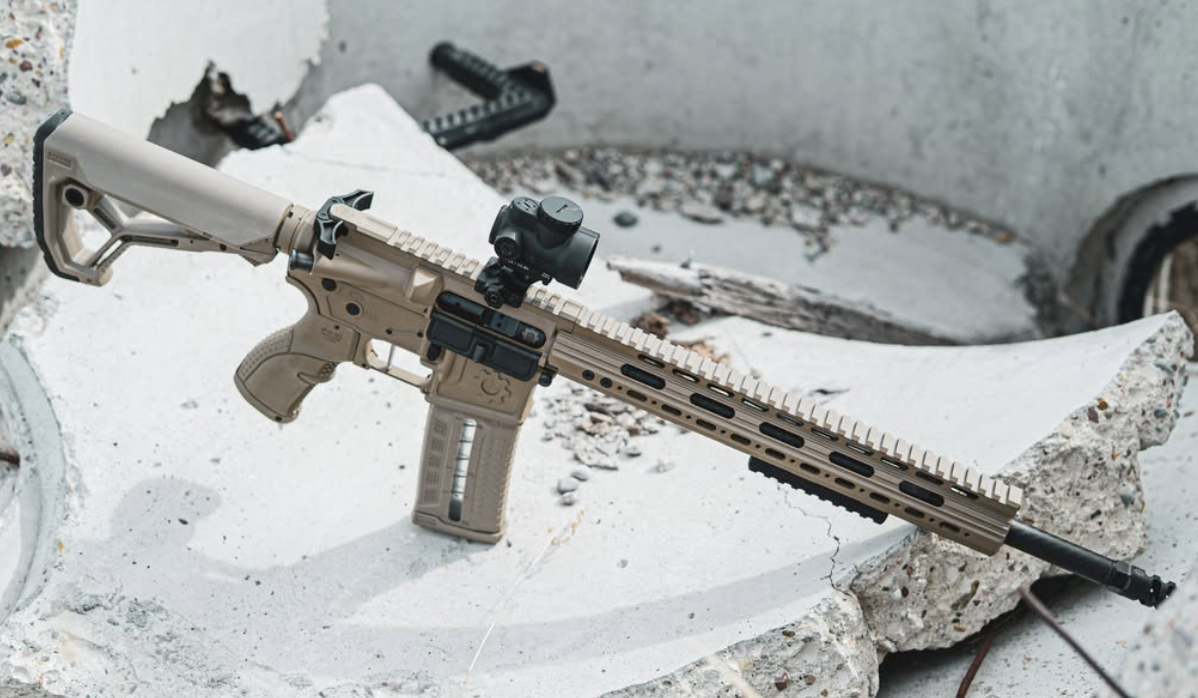
Every shot fired through an AR-15 creates carbon fouling, powder residue, and debris that accumulate throughout the rifle. Over time, this buildup can lead to:
- Reduced reliability
- Increased wear on moving parts
- Cycling issues
- Loss of accuracy
- Corrosion and rust formation
Routine cleaning helps ensure your AR-15 continues to function smoothly and reliably when you need it most.
How Often Should You Clean an AR-15?
There’s no one-size-fits-all answer, but a general guideline is:
- Light recreational use: Every 300-500 rounds
- Heavy range sessions: After each trip
- Suppressed shooting: Every 200-300 rounds
- Long-term storage: Clean before storing
Modern AR-15 rifles can often run thousands of rounds without malfunction when properly lubricated, but regular maintenance helps maximize performance and component life.
Essential AR-15 Cleaning Supplies
Before getting started, gather the following tools:
- Cleaning rod or bore snake
- Chamber brush
- Bore brush
- Cleaning patches
- Nylon utility brush
- Cleaning solvent
- Quality gun lubricant
- Microfiber cloths
- Cotton swabs
- Dental picks (optional)
- Bore light (optional)
Having the right tools makes the cleaning process faster and more effective.
Step 1: Verify the Rifle Is Unloaded
Safety is always the first priority.
Before cleaning:
- Remove the magazine.
- Lock the bolt to the rear.
- Visually inspect the chamber.
- Physically verify the rifle is unloaded.
- Separate all ammunition from your work area.
Never begin cleaning until you’ve confirmed the firearm is safe.
Step 2: Separate the Upper and Lower Receivers
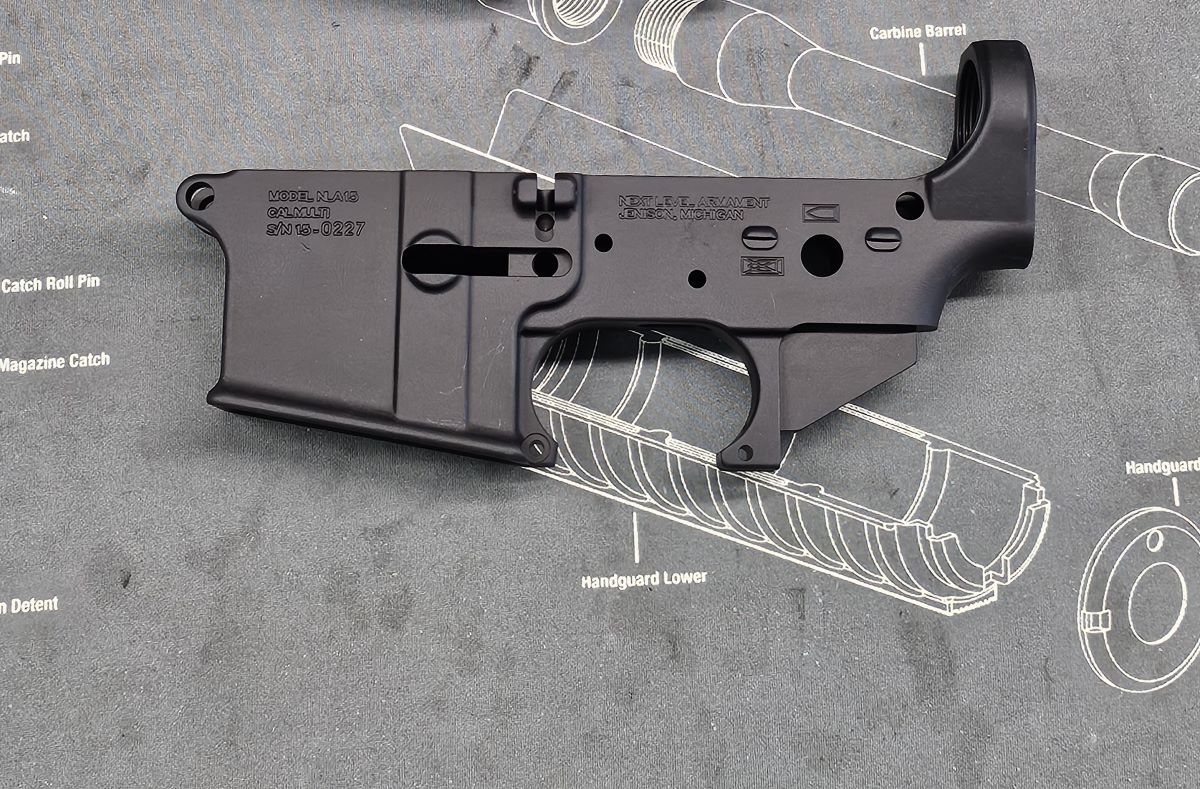
To clean the receivers, push out the rear takedown pin and front pivot pin.
This allows you to separate:
- Upper receiver assembly
- Lower receiver assembly
With the rifle opened, you can access the major components that require cleaning.
Step 3: Remove the Bolt Carrier Group and Charging Handle
Pull back the charging handle and remove:
- Bolt Carrier Group (BCG)
- Charging handle
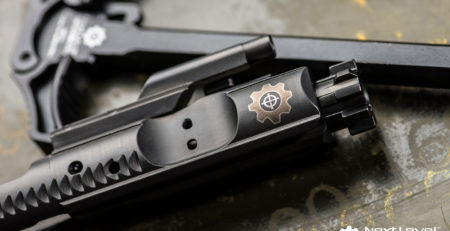
The BCG is the heart of the AR-15 operating system and typically accumulates the most carbon buildup.
Step 4: Clean the Barrel
The barrel should be cleaned from the chamber end whenever possible.
Using a Cleaning Rod
- Apply solvent to a patch.
- Run the patch through the bore.
- Follow with a bore brush.
- Run additional patches until they come out clean.
Using a Bore Snake
A bore snake offers a quick and effective alternative for routine maintenance.
Pay particular attention to removing copper fouling and powder residue if you’ve fired a large number of rounds.
Step 5: Clean the Chamber
The chamber is one of the most overlooked areas during AR-15 maintenance.
Use a chamber brush to remove:
- Carbon deposits
- Unburned powder
- Debris
A dirty chamber can contribute to extraction and feeding issues.
Step 6: Clean the Bolt Carrier Group
The bolt carrier group requires the most attention.
Disassemble the BCG by removing:
- Firing pin retaining pin
- Firing pin
- Cam pin
- Bolt
Clean carbon buildup from:
Bolt Face
Inspect for:
- Excessive wear
- Cracks
- Erosion
Bolt Tail
The rear of the bolt often accumulates significant carbon.
Use a nylon brush and solvent to remove buildup.
Bolt Carrier
Clean:
- Internal carrier surfaces
- Gas key
- Exterior surfaces
Do not obsess over making the bolt spotless. Focus on removing loose fouling and ensuring proper function.
Step 7: Clean the Upper Receiver
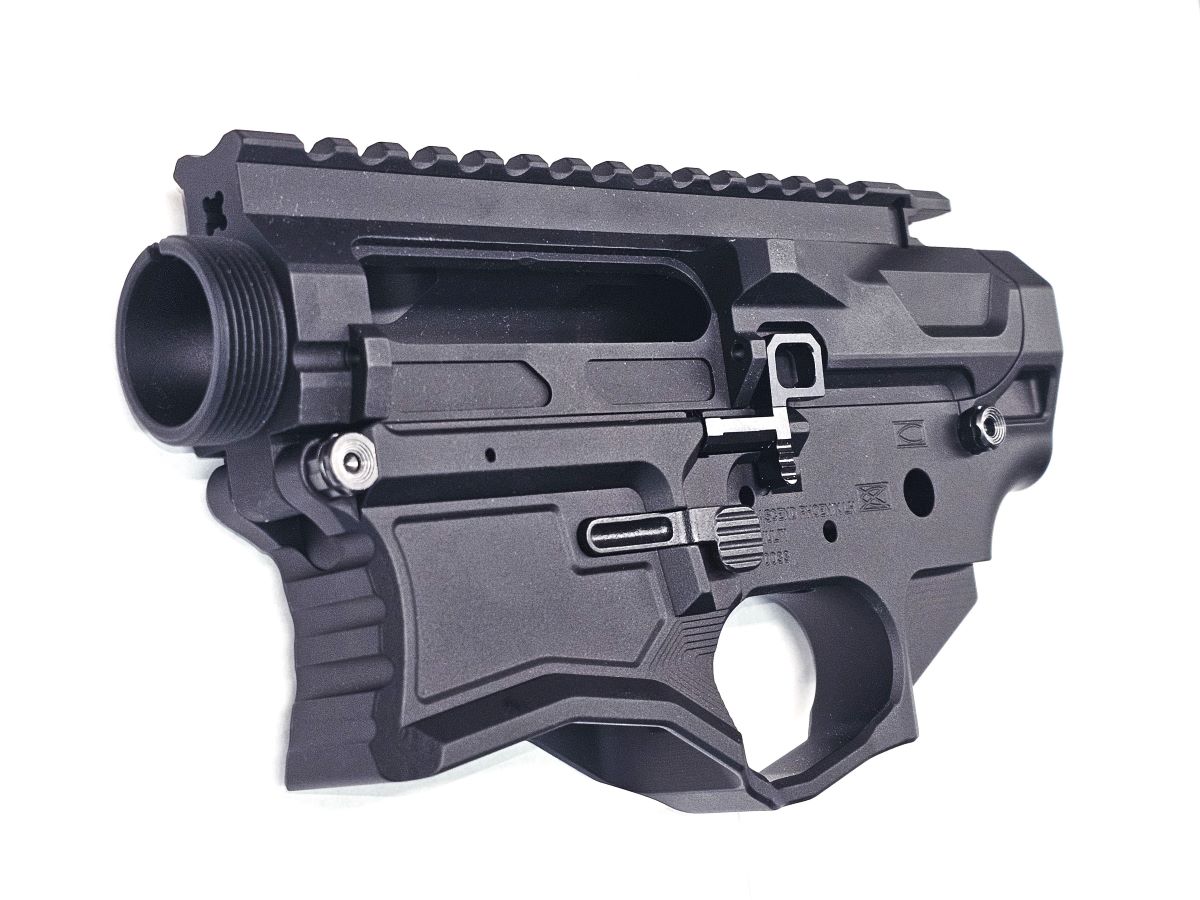
Use a nylon brush and cloth to clean:
- Feed ramps
- Inside receiver walls
- Barrel extension area
- Charging handle channel
Remove excess carbon and debris while avoiding unnecessary abrasion.
Step 8: Clean the Lower Receiver
The lower receiver generally requires minimal cleaning.
Wipe down:
- Trigger assembly
- Magazine well
- Buffer tube area
Compressed air can help remove loose debris from hard-to-reach areas.
Avoid excessive solvent around trigger components.
Step 9: Inspect Critical Components
Cleaning is also an opportunity to inspect your rifle.
Look for:
- Worn gas rings
- Loose gas key screws
- Cracked bolt lugs
- Damaged extractor springs
- Excessive wear patterns
Identifying issues early can prevent malfunctions later.
Step 10: Lubricate Properly
AR-15 rifles perform best when adequately lubricated.
Apply lubricant to:
- Bolt body
- Bolt carrier rails
- Cam pin
- Charging handle contact points
- Buffer spring (lightly)
Avoid over-lubrication, which can attract dirt and debris.
A properly lubricated AR-15 is often more important than a perfectly clean one.
Common AR-15 Cleaning Mistakes
Many shooters unknowingly shorten component life by making these mistakes:
Over-Cleaning
Aggressive scrubbing and excessive use of metal tools can cause unnecessary wear.
Running the Rifle Dry
Insufficient lubrication is a leading cause of AR-15 malfunctions.
Ignoring the Bolt Carrier Group
The BCG experiences the most stress and should receive the most attention during maintenance.
Neglecting the Chamber
Many reliability issues originate in a dirty chamber rather than the barrel itself.
Tips for Maintaining a Reliable AR-15

To keep your rifle performing at its best:
- Clean after extended shooting sessions
- Inspect wear components regularly
- Use quality ammunition
- Keep the rifle properly lubricated
- Replace worn parts before they fail
- Store firearms in a dry environment
Consistent maintenance is the key to long-term reliability.
Upgrade Your AR-15 with Next Level Armament
A clean rifle is only part of the equation. Premium components can further improve reliability, performance, and durability.
Next Level Armament offers precision-engineered AR-15 parts and accessories designed for shooters who demand dependable performance. From enhanced controls to premium rifle components, our products are built to help you get the most out of your AR platform.
Whether you’re building a new rifle or upgrading your current setup, quality parts and routine maintenance go hand in hand.
Final Thoughts
Knowing how to clean your AR-15 is a fundamental skill for every rifle owner. Regular maintenance helps ensure reliability, extends component life, and keeps your rifle operating at peak performance.
By following a simple cleaning routine and inspecting key components along the way, you’ll keep your AR-15 ready for the range, competition, hunting season, or defensive use for years to come.
Be sure to check out Next Level Armament and follow us on Instagram!



Leave a Reply
You must be logged in to post a comment.